We Hate The Big Light: Adventures In Making a Dumb Lamp Smart
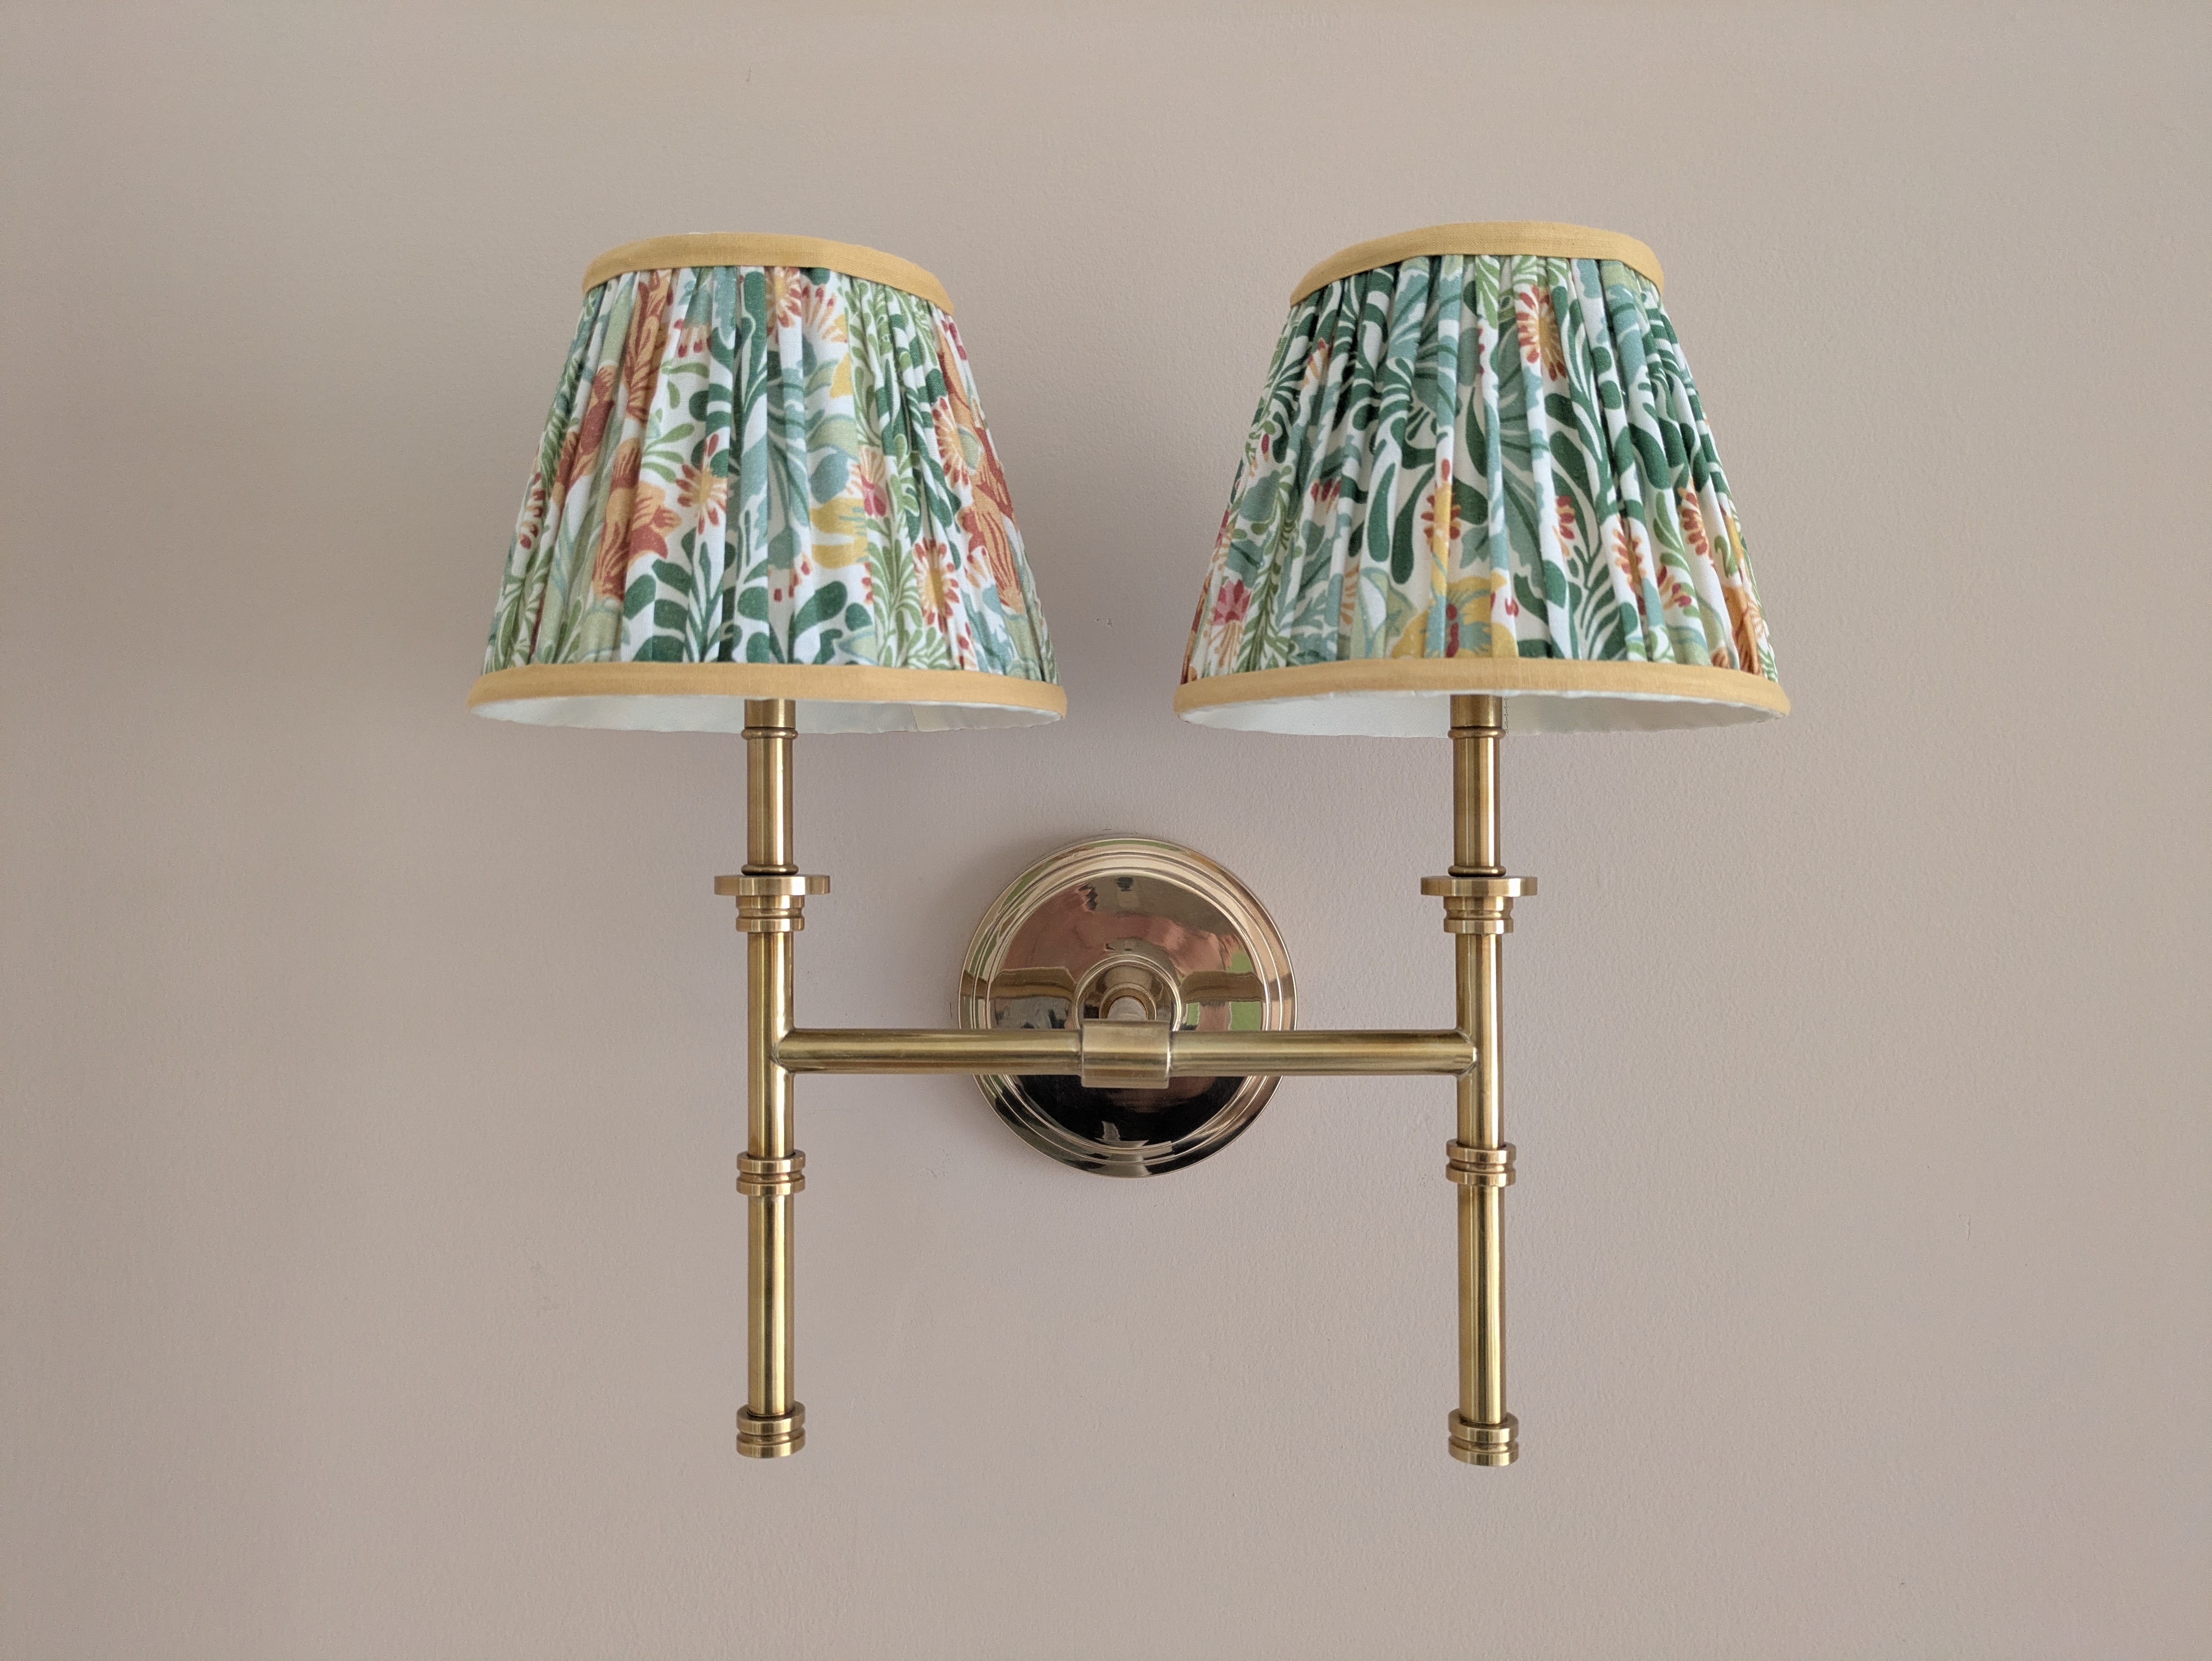
My wife and I recently acquired a very fancy wall mounted lamp from a company called Pooky. Pooky have many things to recommend them, to whit, their attractive designs, their wide variety of lampshades, and their bright USB-rechargeable bulbs. What does not recommend them is that the lamps are controlled by a dinky little remote with awful buttons that looks like it came with a set of Christmas lights sold by a company on Amazon called XYFUNGY.
There were two problems with the remote. Firstly, it meant I couldn't connect the lamp to Home Assistant - the lamp was for all intents and purposes a dumb lamp, just one with an IR remote. Two, the buttons were so crap that I was genuinely concerned it would stop working one day and we simply wouldn't be able to turn on the lamp at all.
However, by bullying a handful of separate IoT devices into cooperating with each other, I could solve both of these problems. The finished lamp is made up of three components: a WiFi-connected infrared blaster that impersonates the remote, a Zigbee brightness sensor sitting inside the lampshade which tells Home Assistant whether the lamp is lit, and an IKEA switch on the wall so we can turn it on without getting a phone out. Home Assistant glues them into a single light entity that behaves like the other smart lights in the house.
What I achieved
My wife can press a button downstairs called 'Nice Evening Mode'. This turns on every lamp in the house and plays jazz on the house speakers. The bedroom light, previously thinking itself beyond such tawdry matters as being part of a harmonious network of devices, now dutifully turns on alongside. Household harmony is achieved.
Alternatively, I can turn on the bedroom light when I walk into the room using the wall switch, just like it's a normal light and not a Frankensteined monstrosity of multiple smart devices.
Nobody ever has to use the Big Light. Repeat after me: we hate the Big Light.
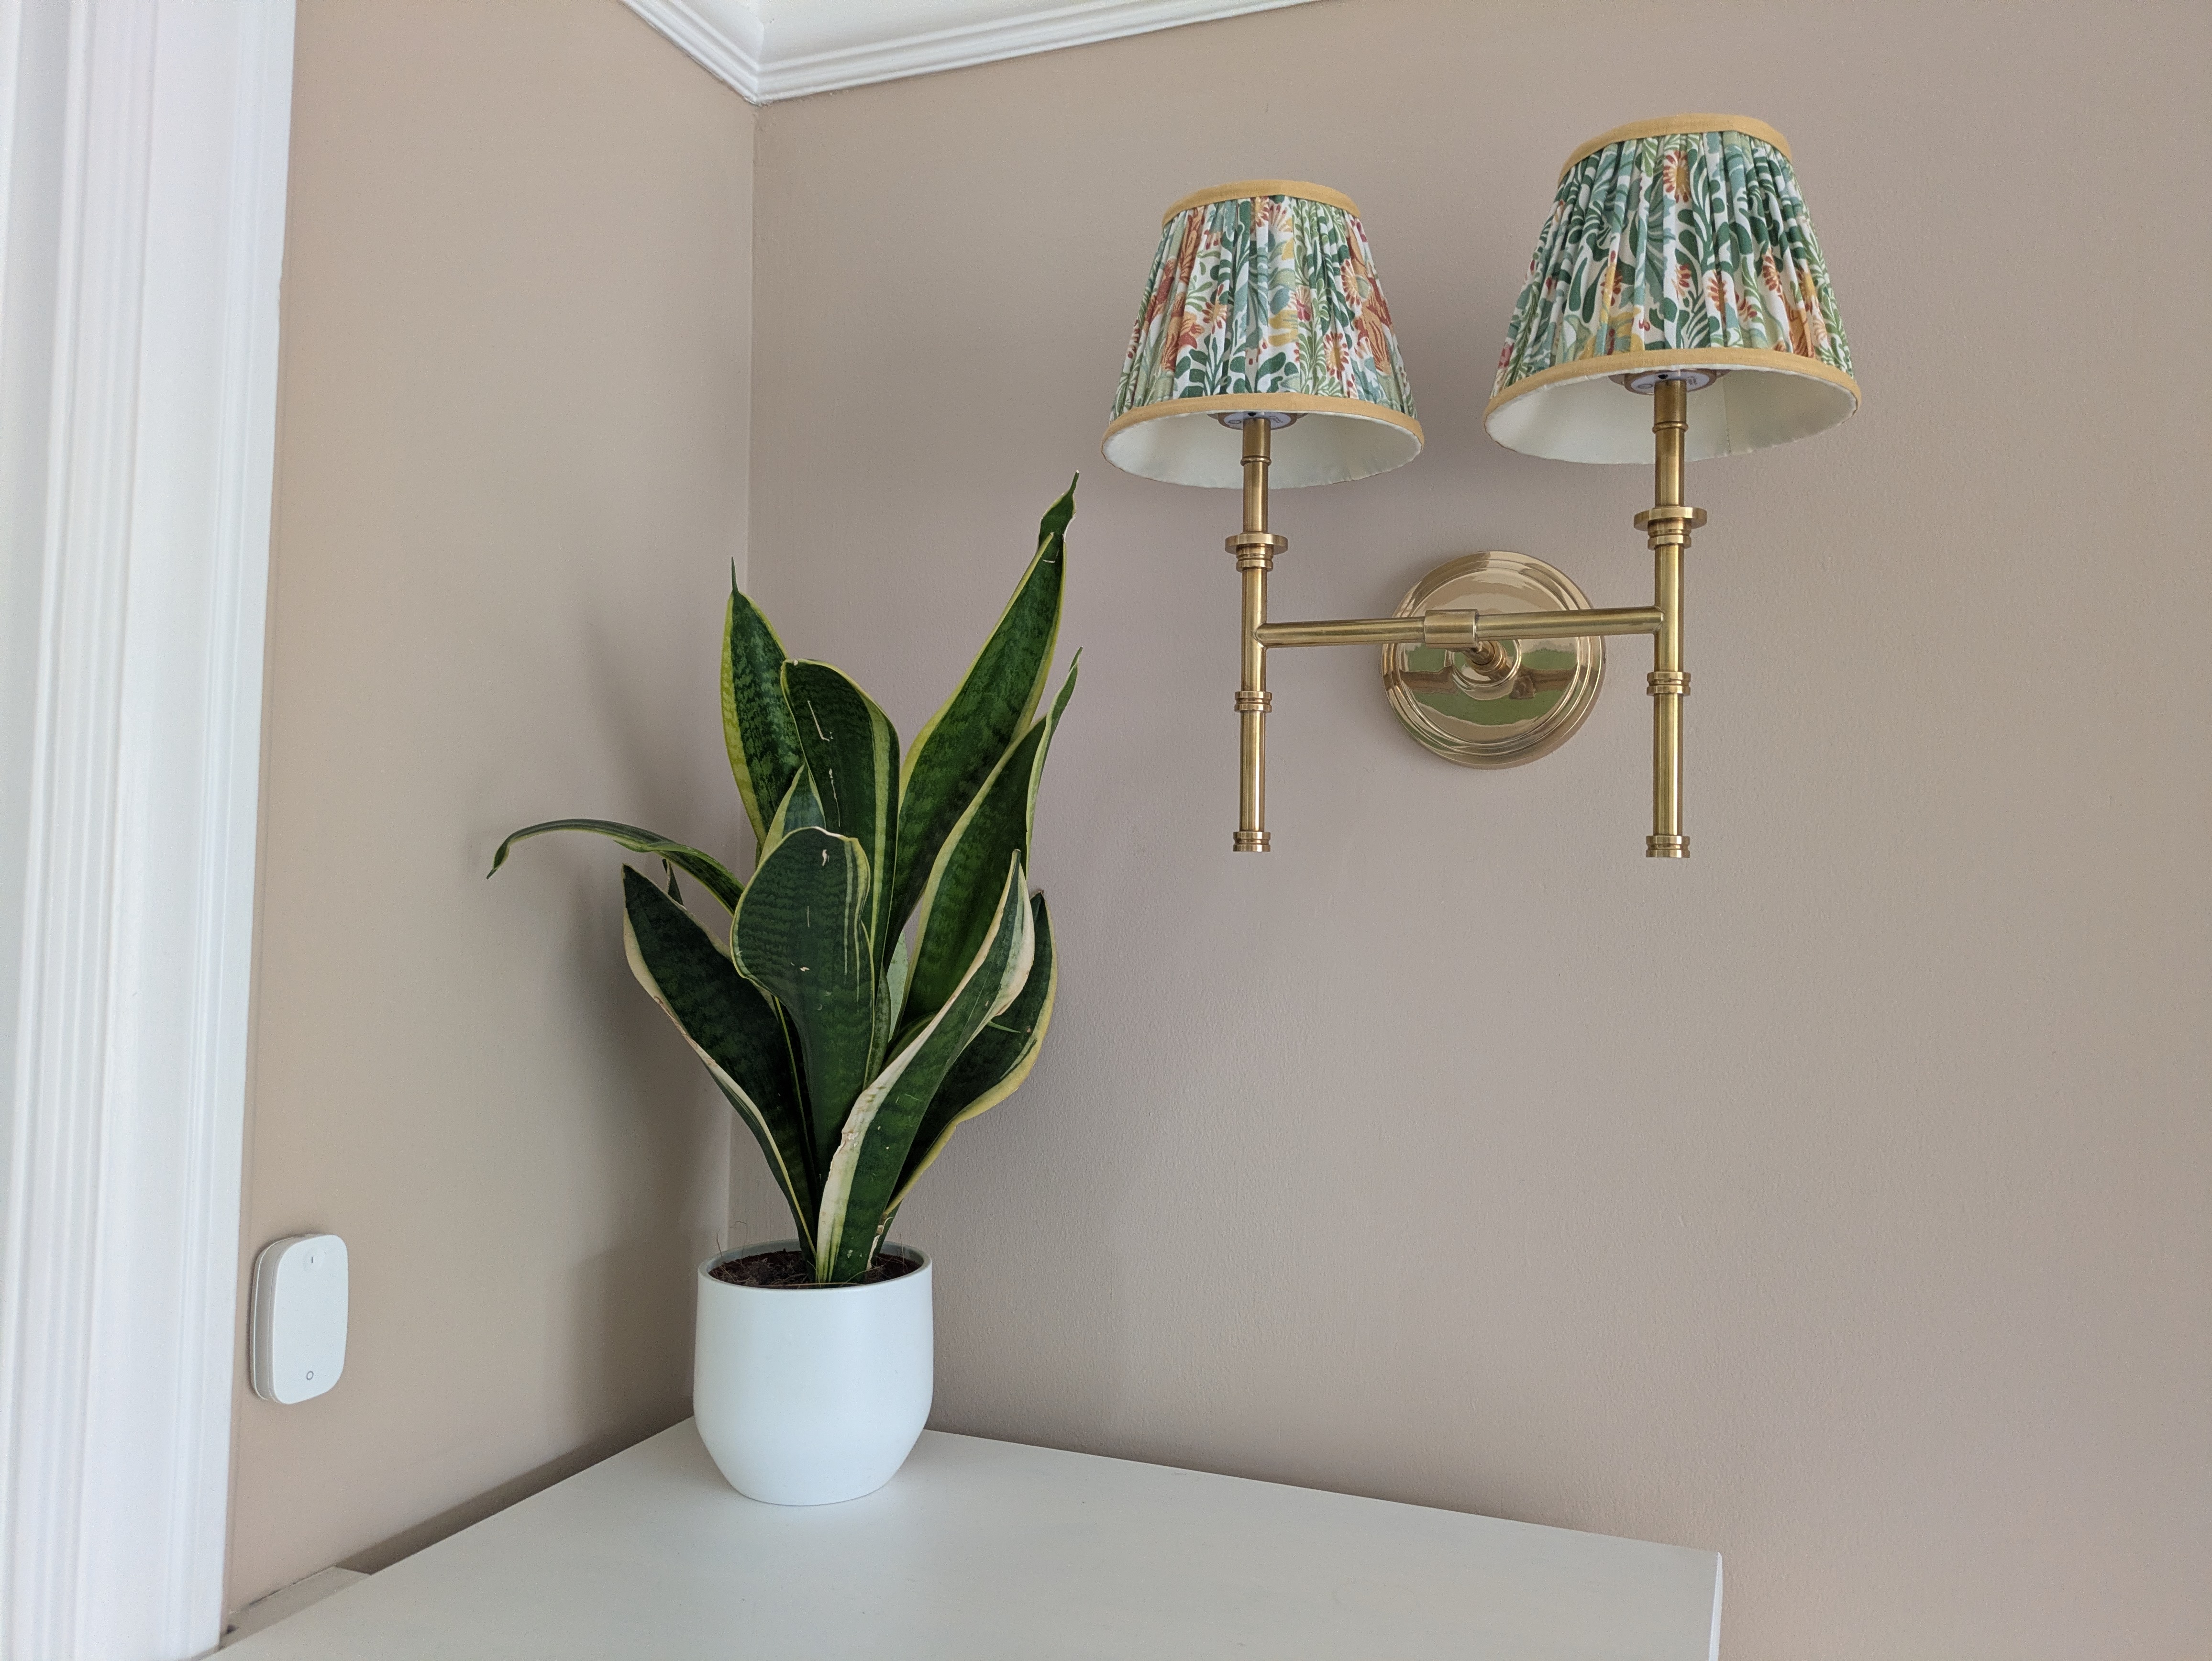 Why choose only one when you can have smart and aesthetic?
The trouble with toggles
The remote has one power button, and that button sends one code, which is a toggle code - that is, "turn on if you're off, and turn off if you're on".
This is fine for the lamp because its internal circuitry knows whether it's on or off, and it's fine for us if we're in the room, because we can see the lamp with our eyes. It is miserable for a computer, which has no idea about the current state of the lamp. So the lamp needed senses - or rather, just one, the sense of its power state - before it could be controlled by Home Assistant. That is what the light sensor is for!
The parts
- A Tuya universal infrared blaster, about £7, from eBay. These come in various flavours; mine is a plain black square.
- A Tuya Zigbee illuminance sensor, about £3, from Aliexpress, which sits inside the lampshade and reports how many lux it can see.
- An old IKEA RODRET switch. IKEA sadly no longer make Zigbee devices - they've switched to the Matter protocol - but there are plenty of Zigbee switches out there.
- Home Assistant, with ZHA for the Zigbee communication and tuya-local to handle the IR blaster.
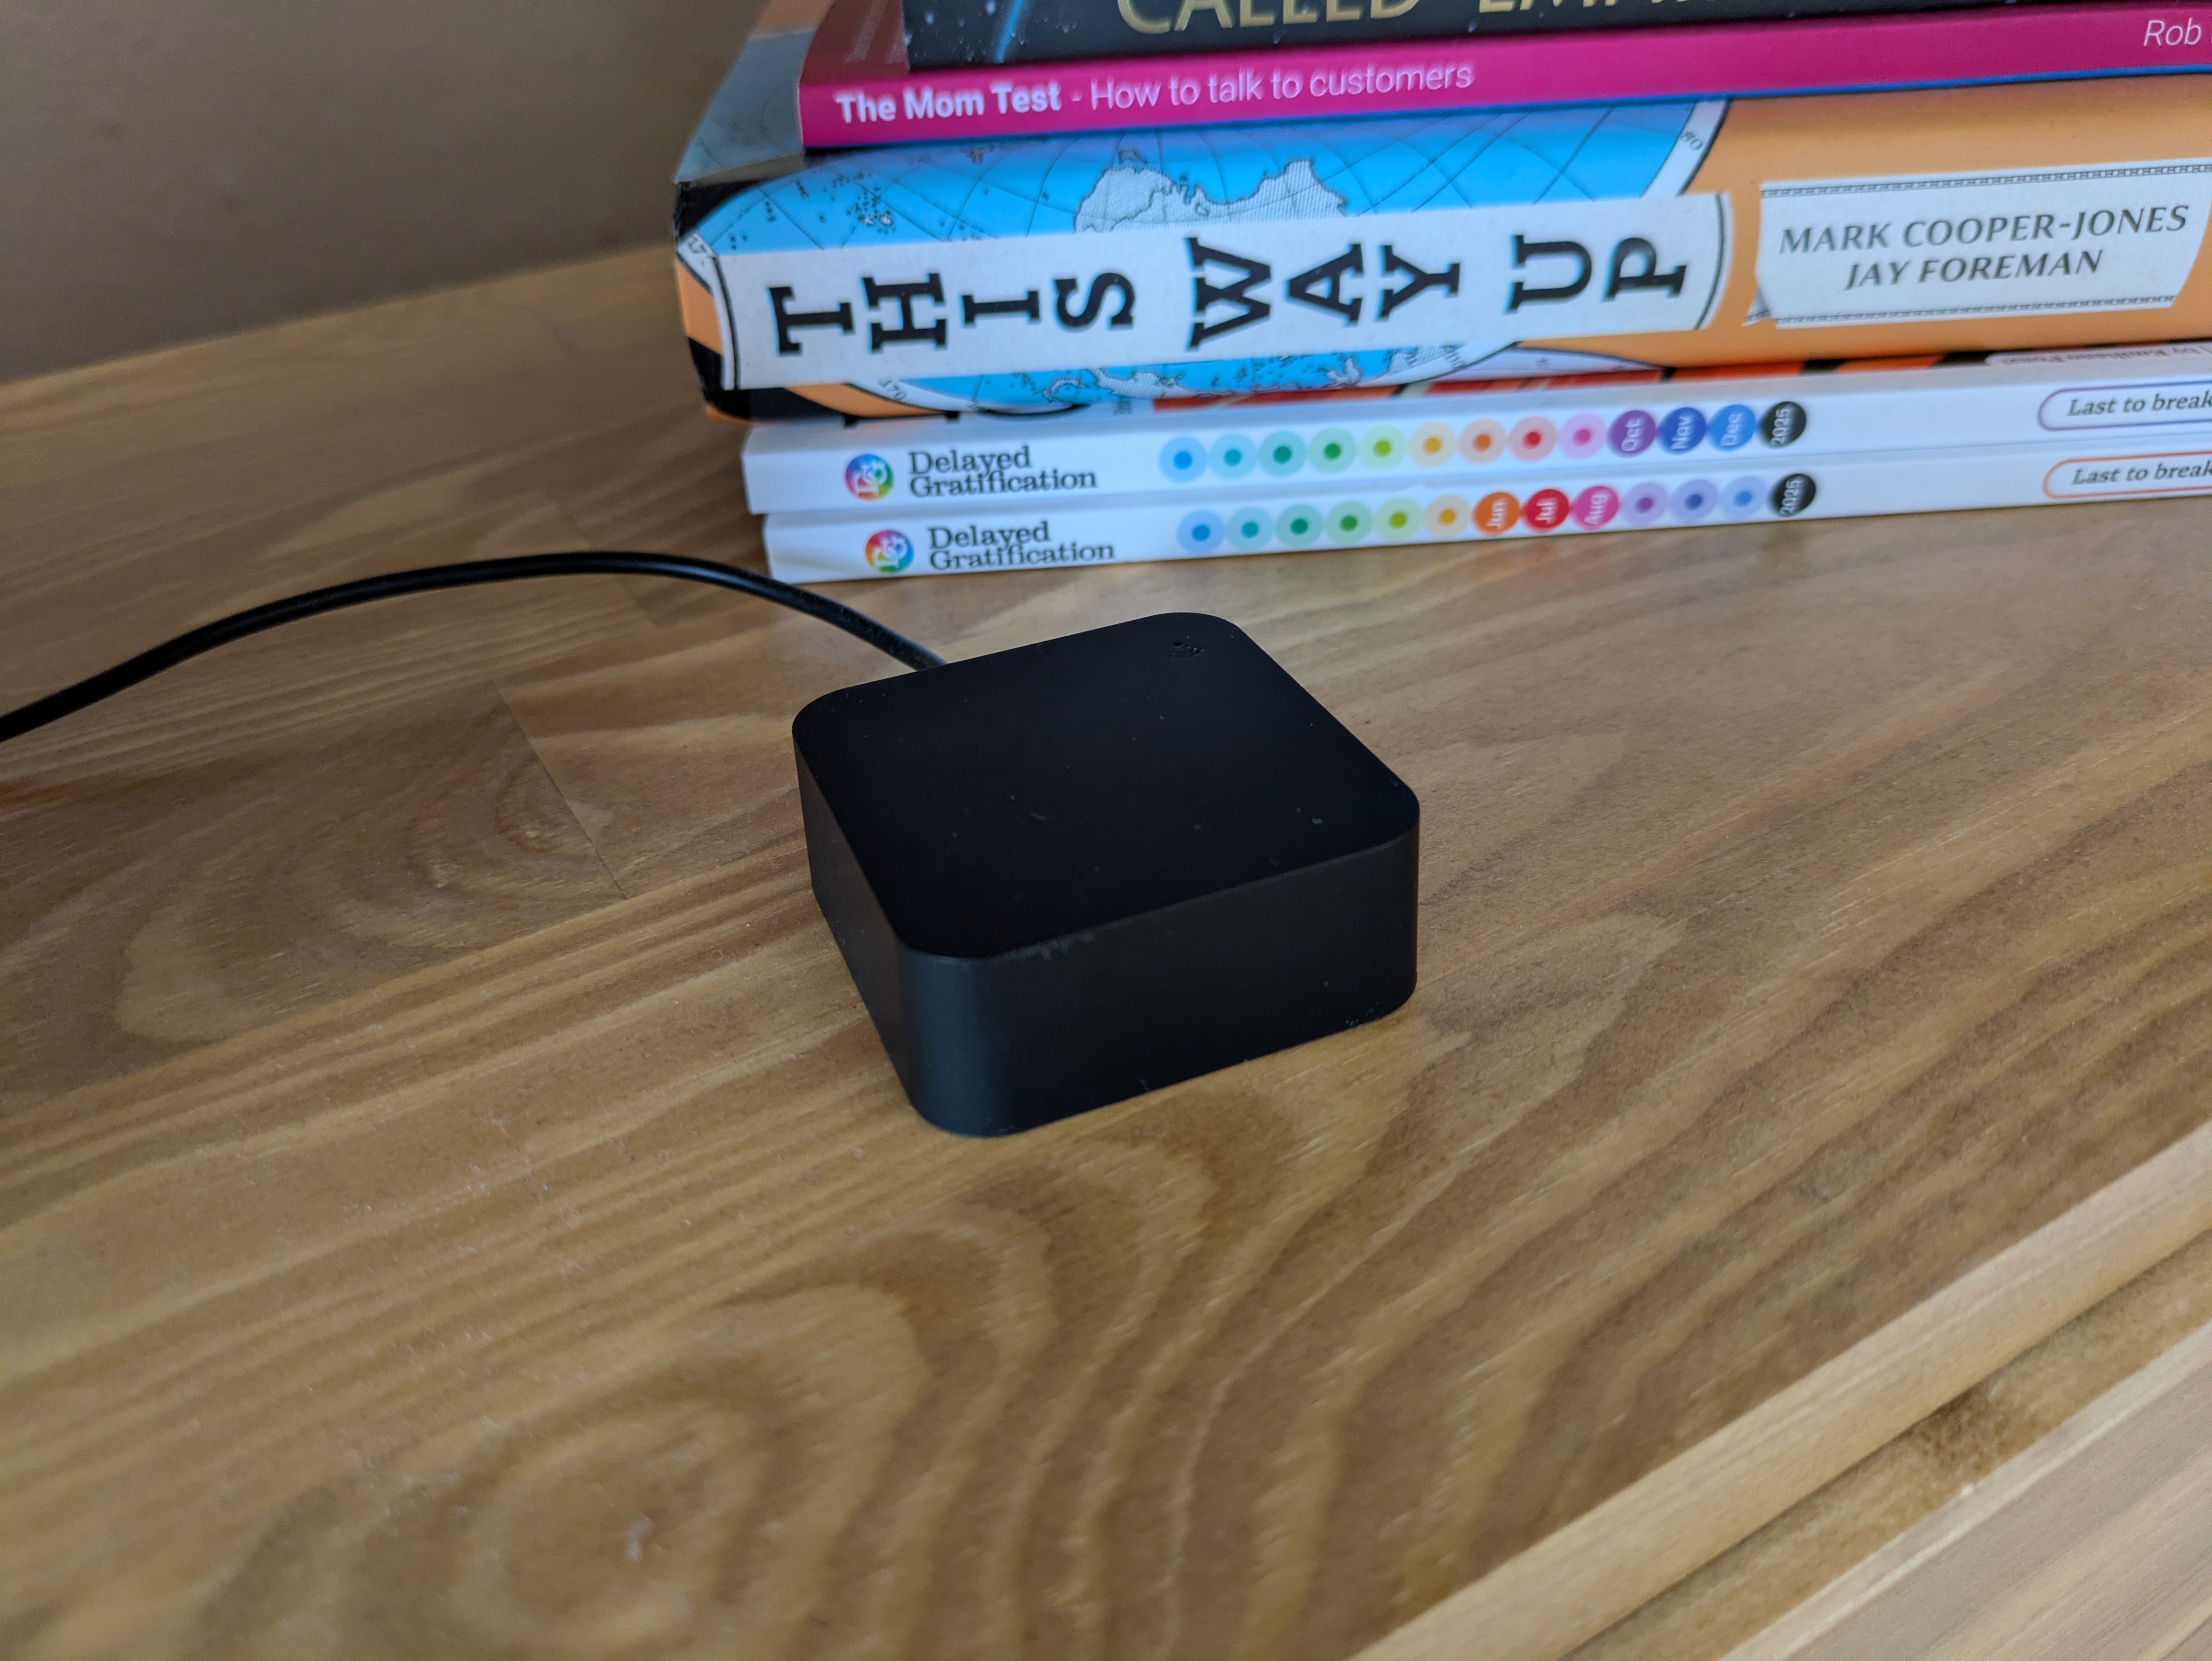 The Tuya IR box might be the most boring IoT object I have ever seen. It's like the monolith from 2001: A Space Odyssey if the alien precursors were an inch tall and loved plastic.
Step 1: teach the blaster to impersonate the remote
Follow the installation instructions to set up tuya-local using HACS. Then plug in your IR blaster, connect it to the Tuya app and set it up in Home Assistant with the cloud-assisted config flow, which signs in with your ordinary app account and fetches the device's local key for you. After that the device will never need to talk to the Tuya cloud again.
Then teach it the code. This is a one-off action you run by hand: go to Developer Tools > Actions, switch the panel into YAML mode with the toggle in the top right, and paste this in:
action: remote.learn_command
target:
  entity_id: remote.tuya_smart_ir # Or whatever you called it
data:
  device: pooky_lamp
  command: power
Press Perform action, and you get a thirty second window in which to point the remote at the box and press its power button. Both device and command are required, and the two names you pick here are how you'll refer to the lamp device afterwards. Tap the button once, do not hold it.
You can now fire the code from a script or a dashboard button. This is already better than the awful remote!
Step 2: give the lamp senses
Connect the light sensor to Home Assistant via ZHA, and then put it inside the lampshade, pointing at the bulb.
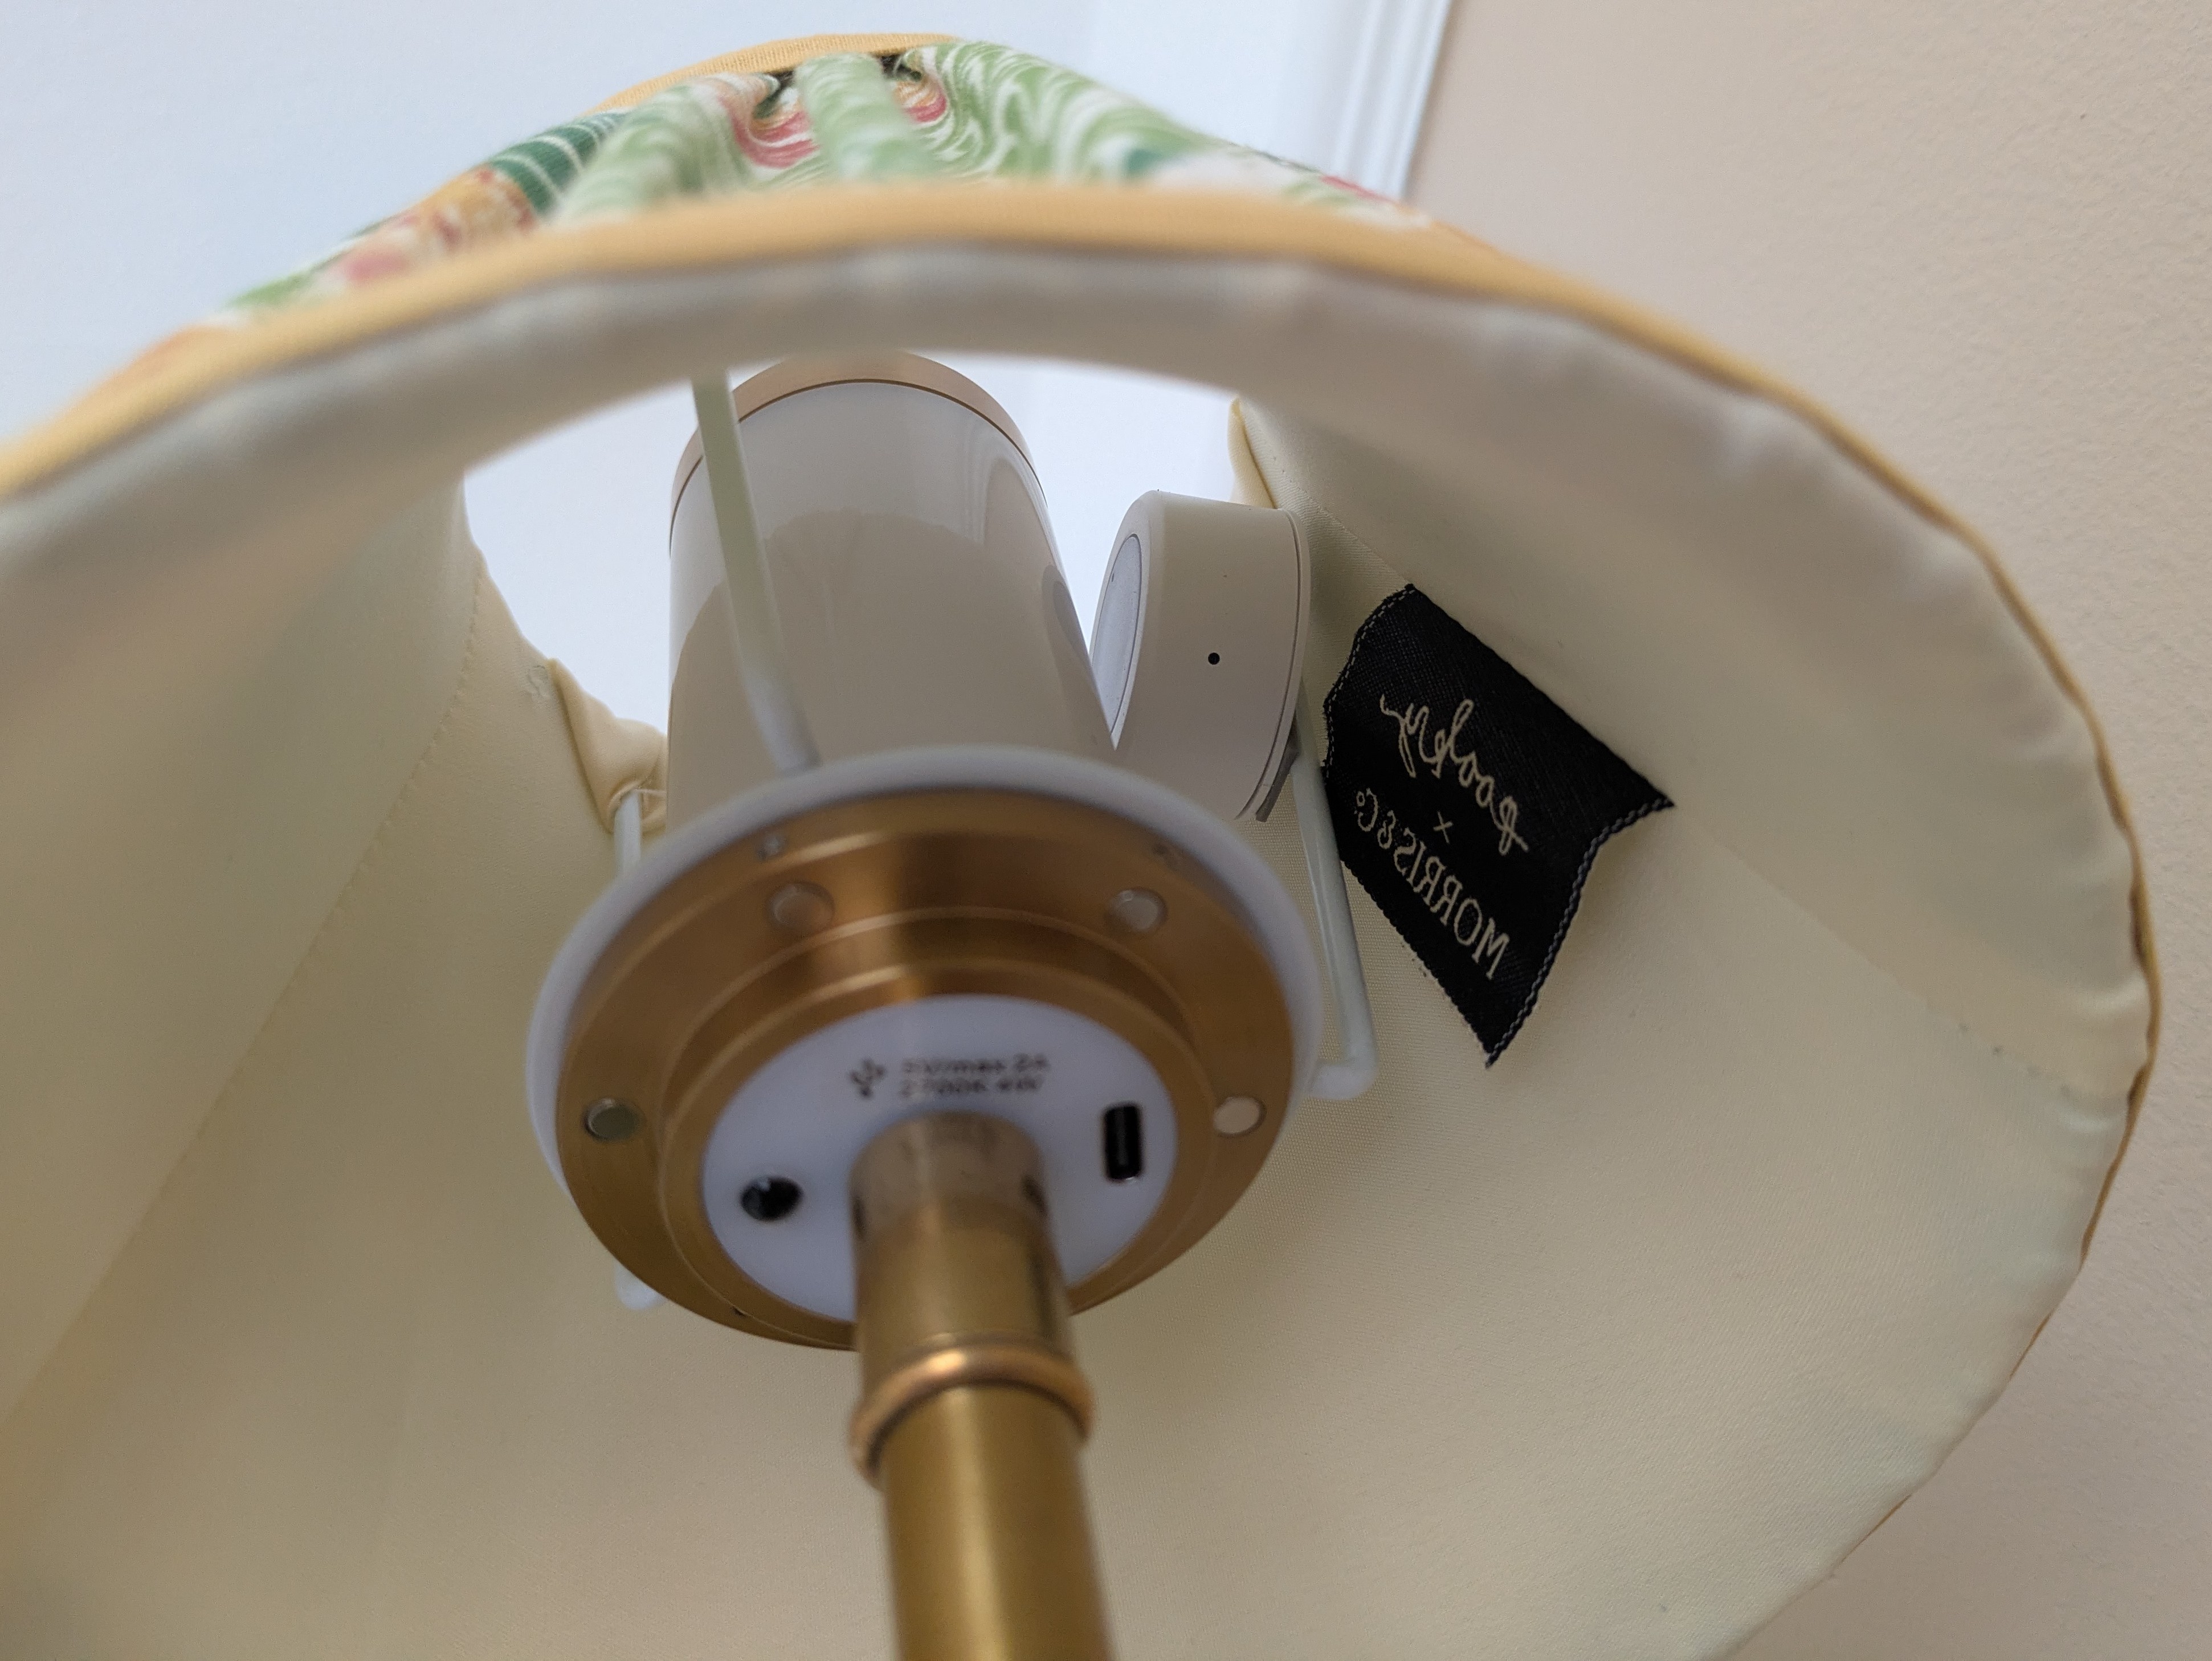 It's like some sort of parasite, sucking up the lumens.
The sensor reports a number, but what we want from it is a yes or a no. A template binary sensor lets us do this: above a certain number of lux, the lamp is lit. This goes in your configuration.yaml, or in a separate templates.yaml if you include one:
template:
  - binary_sensor:
      - name: "Pooky Lamp Detected"
        unique_id: pooky_lamp_detected
        device_class: light
        state: "{{ states('sensor.light_sensor') | float(0) > 1000 }}"
        availability: "{{ has_value('sensor.light_sensor') }}"
        attributes:
          lux: "{{ states('sensor.light_sensor') | float(0) }}"
Change sensor.light_sensor to whatever you called your light sensor in Home Assistant. You'll also need to adjust the lux value (here it's 1000) based on how bright your lamp is compared to the room - too low, and bright sunlight might make Home Assistant think your lamp is on. Too high, and Home Assistant may not think your lamp is on when the room is otherwise dark.
Step 3: bring it all together
A template light lets you define turn_on and turn_off as arbitrary sequences of actions, and read the state from anywhere you like. For us, the state comes from the binary sensor, and each action starts with a condition that stops the action if the lamp is already doing the right thing.
This goes in the same file as the binary sensor above, under the same top level template: key:
template:
  - light:
      - name: "Pooky Lamp"
        unique_id: pooky_lamp
        state: "{{ is_state('binary_sensor.pooky_lamp_detected', 'on') }}"
        turn_on:
          # Already on? Do nothing.
          - condition: template
            value_template: "{{ not is_state('binary_sensor.pooky_lamp_detected', 'on') }}"
          # Repeat the action 3 times with 10 second waits between them, in case
          # the IR code was missed or the light sensor was slow to update.
          - repeat:
              sequence:
                - action: remote.send_command
                  target:
                    entity_id: remote.tuya_smart_ir
                  data:
                    device: pooky_lamp
                    command: power
                - wait_template: "{{ is_state('binary_sensor.pooky_lamp_detected', 'on') }}"
                  timeout: "00:00:10"
                  continue_on_timeout: true
              until:
                - condition: template
                  value_template: >-
                    {{ is_state('binary_sensor.pooky_lamp_detected', 'on')
                       or not has_value('binary_sensor.pooky_lamp_detected')
                       or repeat.index >= 3 }}
turn_off is the same with every 'on' swapped for 'off'.
The condition on the first line makes the toggle code behave like a switch: if the light is already in the right state, we break there - we're done! The repeat loop is mostly there because an infrared pulse can simply be missed if someone walks between the blaster and the lamp, so it presses, waits up to ten seconds for the sensor to agree, and tries again up to three times. The until also breaks immediately if the sensor has become unavailable, which is nice.
Step 4: add a physical switch
With the template light above, we can now control the light from the Home Assistant app! It's now easy to connect a physical smart button to the entity.
This one is an automation, so it goes in automations.yaml, or can be added through the UI on the app. It'll look something like this:
- alias: Trigger Pooky lamp with Rodret switch
  triggers:
    - device_id: <...> # Find your device ID
      domain: zha
      type: remote_button_short_press
      subtype: turn_on
      trigger: device
      id: turn_on
    - device_id: <...> # Find your device ID
      domain: zha
      type: remote_button_short_press
      subtype: turn_off
      trigger: device
      id: turn_off
  actions:
    - choose:
        - conditions:
            - condition: trigger
              id: turn_on
          sequence:
            - action: light.turn_on
              target:
                entity_id: light.pooky_lamp
        - conditions:
            - condition: trigger
              id: turn_off
          sequence:
            - action: light.turn_off
              target:
                entity_id: light.pooky_lamp
  mode: restart
mode: restart means that if you press 'off' while a previous 'on' press is still in its confirm-and-retry loop, the newer press wins.
If you have a lamp with a rubbish remote, I hope this will guide will be useful, and I'd genuinely love to hear about it if you build something similar! Tell me what you sensed and how you sensed it!